





GARMENT CONVEYOR PLANNING
Garment Conveyor Room Planning should be planned around the real workflow. Garment conveyors use vertical and perimeter space to store more hanging items in an organized path. The right design begins with garment size and peak operating volume, not with the largest model that can physically fit in the room. A practical garment conveyor room planning project starts with room dimensions, garment size and peak retrieval flow.
Garment Conveyor Room Planning: Start with the storage job
Define whether the conveyor serves dry cleaning, wardrobe storage, retail, a photo studio, coat check or another application. Each operation has different turnover and garment mix. A studio may handle long garment bags and slower retrieval; a busy coatroom may care most about rapid customer pickup.
Measure the operating envelope, not only the room
Record usable length, width and height, but also doors, columns, sprinklers, electrical panels, worktables and required service access. Hanging garments swing beyond the metal track, so clearance around the conveyor matters. Long coats, gowns and garment bags need more vertical and side clearance than shirts or short jackets.
Capacity depends on garment mix
Theoretical hanger positions do not equal comfortable operating capacity. Thick winter coats need more spacing than shirts; long gowns may prevent a lower tier from being used. Plan from the real garment mix and peak inventory, then keep some spare capacity so staff are not forced to pack every position tightly.
- Typical garment length and thickness.
- Peak number of stored items, not only daily average.
- Single-tier or multi-tier possibilities.
- Clearances for garment swing and operator access.
- Future growth allowance.
Choose the conveyor path around the room
U-shaped, oval, L-shaped or custom paths can use a room differently. The best path keeps loading and retrieval near the operator while using otherwise difficult wall or ceiling space. The track should not block doors, emergency routes or service access. The garment conveyor room planning layout should leave enough working clearance for garments, staff and service access.
Retrieval speed is a workflow question
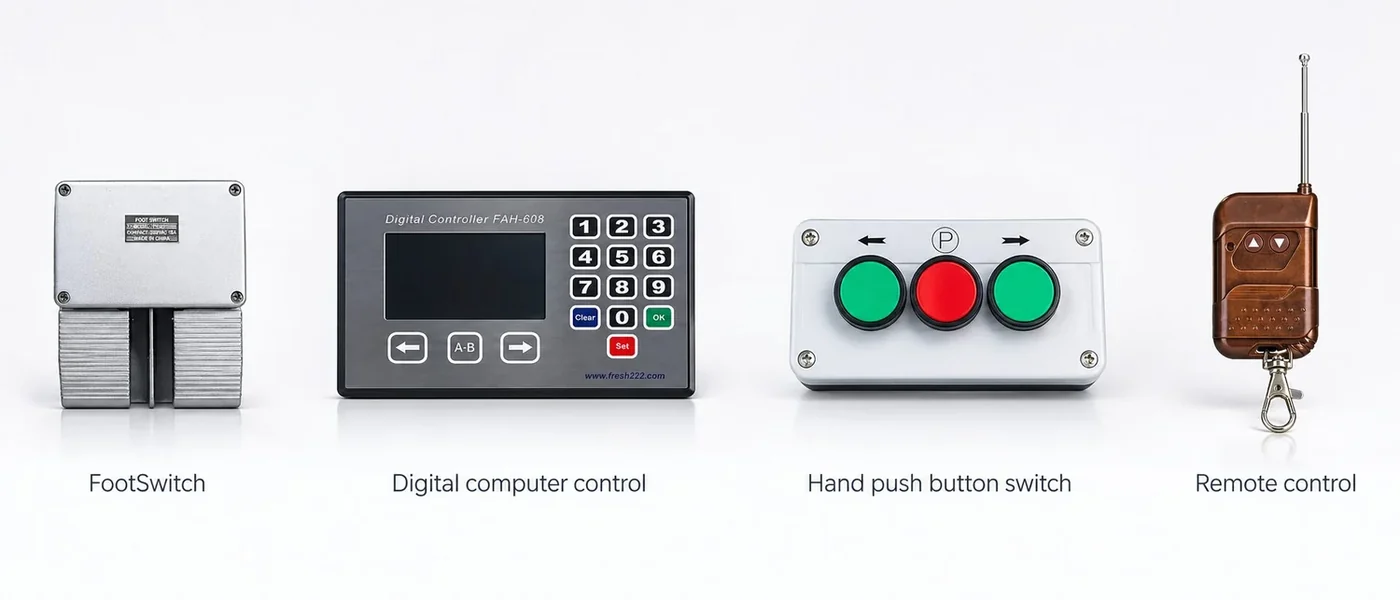
Simple numbered positions may be enough for low-volume storage. Digital position search becomes useful when hundreds of garments are stored and staff need to retrieve a known number quickly. The control should support the existing ticket or item-identification workflow.
Design for peak periods
Measure items stored at peak, average retrieval time and queue length during the busiest hour. Those numbers reveal whether the next improvement should be more capacity, better search or a different operator layout.
Common conveyor planning mistakes
- Using wall-to-wall dimensions without garment clearance.
- Quoting capacity from empty hanger positions instead of real garments.
- Ignoring the busiest arrival or pickup period.
- Placing the operator where customers block the retrieval path.
- Choosing multi-tier storage when garment length makes the lower tier impractical.
- Forgetting service access, power and a way to identify positions.
What to send before requesting a layout
Provide a room sketch with dimensions, ceiling height, doors and obstacles; garment type and maximum length; peak quantity; desired operator position; and whether number search or another retrieval method is required. Photos of the room help confirm practical clearances before a final layout is selected.
Related planning guides
A practical commissioning example
A garment conveyor should be planned from the garments outward. Start with the longest and widest typical items, then add the clearance they need while moving around curves and past walls. Next estimate the number of hanging positions and how frequently staff retrieve garments. This sequence is more reliable than fitting the largest possible conveyor into a room and assuming every garment will clear. Evening gowns, bulky coats and bagged garments can require very different usable spacing from shirts or uniforms.
How to validate the workflow before full rollout
Before fabrication, verify room dimensions, ceiling height, columns, doors, sprinkler/utility conflicts and the operator access area. Mark the proposed footprint on the floor if possible and walk the retrieval path. Confirm the control location and how staff will identify positions. After installation, load representative garments rather than empty hangers and test movement through the tightest turns and lowest clearances.
Decisions to make before ordering
- What are the longest and bulkiest garments?
- How many pieces must be stored at peak inventory?
- How much operator space is needed for loading and retrieval?
- Are columns, doors or low services inside the planned footprint?
- Is position search or only manual indexing required?
Write these answers into the project scope before comparing equipment. They create an acceptance target for the installer and a training reference for the employees who will use the system later. If one of the answers changes, update the scope before adding hardware so the installation continues to solve the operating problem described on this page.
Project handover and future expansion
For garment conveyors: capacity, layout and retrieval planning, keep a short handover record with the final layout, equipment locations, naming convention, normal operating steps and the person responsible for routine changes. Record the settings that were proven during acceptance instead of relying on memory. This makes later service, staff training and expansion much easier.
Expansion should follow a new operational requirement: another entrance, a larger inventory, additional reports, a new department or a need for remote visibility. Add the smallest component that solves that new requirement while preserving the working first phase. A modular project is valuable because the original installation remains useful rather than becoming a disposable pilot.
Recommended implementation sequence
Freeze the layout only after a room-fit review with real garment dimensions. Mark the conveyor footprint, operator position, loading point and service clearances. Then verify capacity using the expected hanger spacing rather than a theoretical maximum. Search or position-control functions should be tested with randomly selected locations so the operator workflow is proven as well as the mechanical movement.
For handover, record the position-numbering method, safe loading rules and basic recovery steps. When capacity grows, use the same planning logic for an added tier, another conveyor or a changed layout; do not assume that increasing the number of positions automatically preserves garment clearance or retrieval speed.
Frequently asked questions
How much extra space should be allowed around a garment conveyor?
Allow practical garment swing and service clearance beyond the track itself; the exact allowance depends on garment size and layout.
Is the highest hanger count always the best design?
No. Usable capacity and retrieval flow are more important than theoretical maximum positions.
Can garment conveyors use number search?
Search/control options can be added when faster retrieval is useful for the application.
Can a conveyor be customized to the room?
Commercial garment conveyors are commonly selected or configured around the available space, capacity and garment requirements.